
Before you can enjoy the benefits of dropshipping with Dropshipzone, you will need to create an account.
This chapter aims to guide you through the registration process and provide all the information you need to kickstart your dropshipping journey with Dropshipzone. Let’s get into it!
How do I register as a Retailer on Dropshipzone?
Signing up with Dropshipzone is easy. Here’s how to get started:
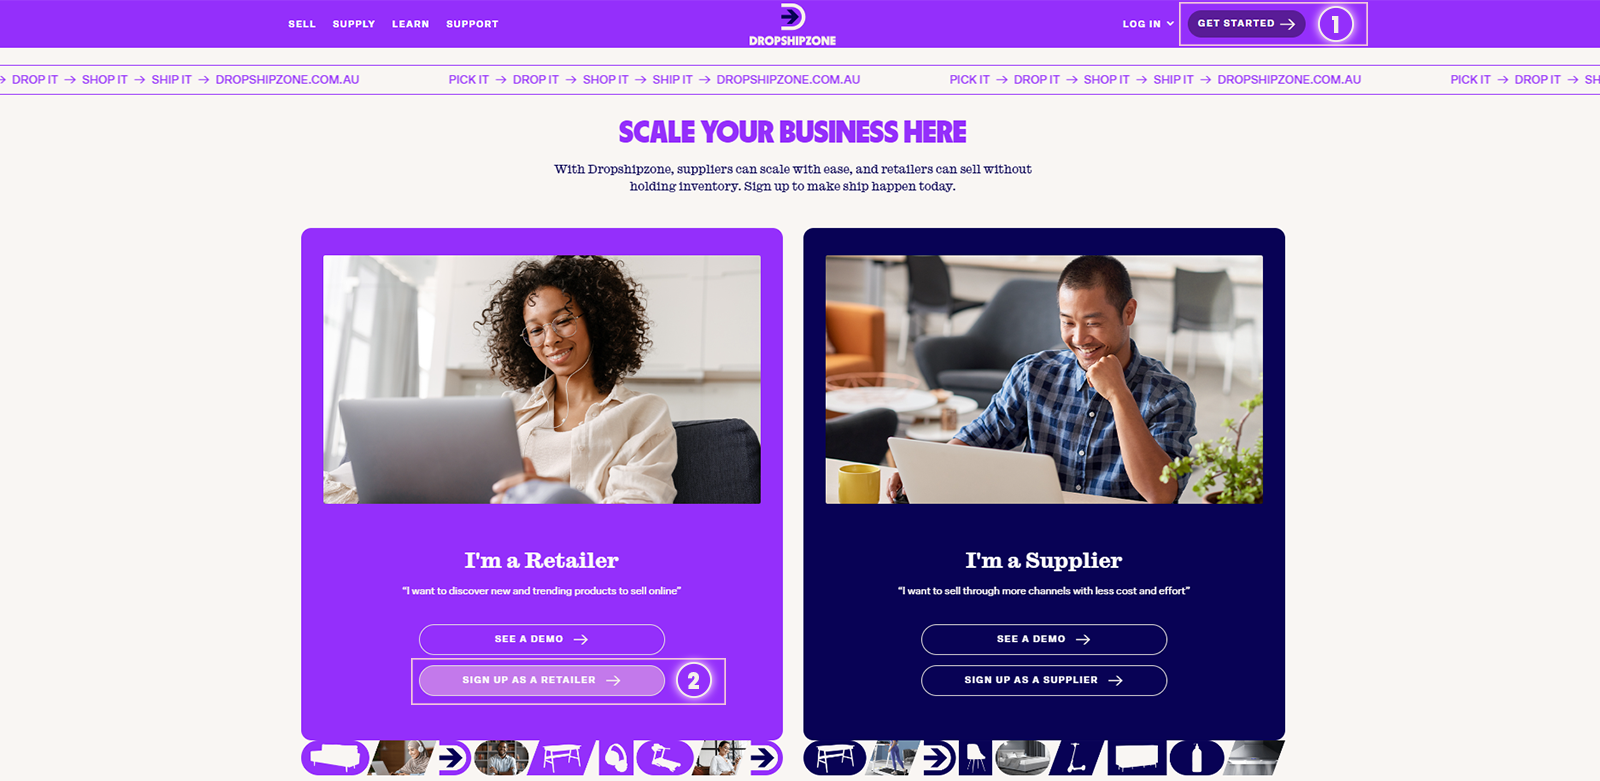
- Click on the Get Started button in the top-right corner of the page. Then, you’ll be directed to the sign up page. Here, you can sign up as a Retailer.
- Click on the Sign Up as a Retailer button to register your account.
- Fill in the required information, including your personal information and business details.
The asterisk (*) indicates compulsory fields in the form. Please make sure to fill in all the marked fields to successfully complete the registration process. Most importantly, you’ll need an active ABN or ACN, company name, and link to your online store to process your application.
- After filling the required information, click the Agree to Terms and Conditions and I’m not a robot checkbox, and then proceed by clicking the Submit button to successfully submit your application.
How do I activate and start accessing my account?
After submitting your application, our team will verify your details over the next 2 business days. Once approved, we’ll send you a confirmation link to activate your account.
Activate your Dropshipzone account via the confirmation link in the email, then start exploring your account, check pricing, add products, and place orders.
- To get started, log in to your Dropshipzone account by clicking on the Log In button. You’ll need to enter your email address and password, and then proceed by clicking the Login button.
- After logging in, you’ll notice several tabs on the Dropshipzone navigation sidebar of your screen.
- To access your profile, simply click on the Dropshipzone Account tab at the bottom of the navigation sidebar. Here, you can review and update your personal, business, and billing details and account password submitted during account registration. Remember to click the Save button after you make any changes to your profile.
- If you’d like to subscribe to our newsletter or receive daily inventory updates, click the respective checkboxes. Please note that you’ll receive inventory updates only for SKUs in your My SKU List. Click here to know more about how you can add products to your My SKU List.
How do I get started with Dropshipzone on Shopify?
Dropshipzone has a dedicated app for Retailers, the Dropshipzone app, who operate a Shopify store.
Please note: The Dropshipzone Shopify app is not compatible with the Shopify Basic Plan .
Here’s how you can install the app for your Shopify store.
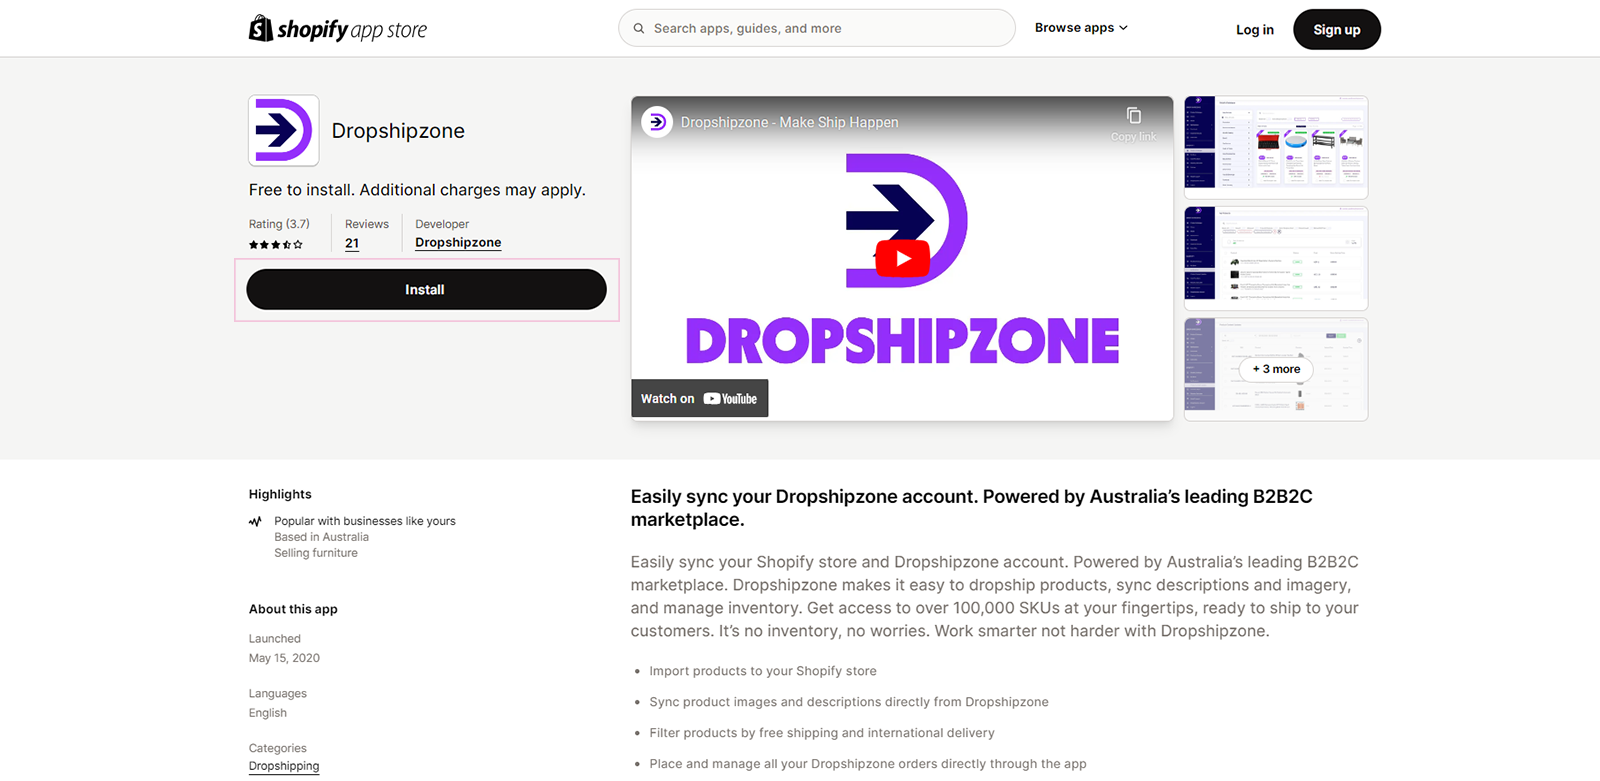
- Log in to your Shopify account and head over to the Shopify App Store.
- Search for the Dropshipzone app. Then, add and install it to your Shopify store.
To integrate the Dropshipzone app with your Shopify store, follow these steps:
- Once you’ve installed the Dropshipzone Shopify app, follow the setup instructions that you’ll be prompted to configure the app for your store. You can access the Dropshipzone app from the Apps tab of your Shopify dashboard.
- The next step is to Bind together your Dropshipzone account with the Dropshipzone’s Shopify app. To bind your account with the app, you’ll need to first log in via the Dropshipzone app. Your credentials will be the same you use for the Dropshipzone website.
3. When you've successfully logged in, go to the dashboard and click Settings. Here you can check if your account is bound.
4. If your account is not already bound, you need to enable the Bind function. To bind your account, navigate to the Account Binding section and simply hit the Bind button.
How do I contact the Dropshipzone support team?
You can contact the Dropshipzone support team in two different ways.
- For enquiries related to pre-sales, sales, or technical issues, you can contact your Dropshipzone Account Manager or fill in the Contact Us form here.
- For aftersales enquiries related to order cancellation, change in delivery address, or warranty claim, you can reach out via Request Support button on the Order Details page. Here’s how you can send your initial message to us:
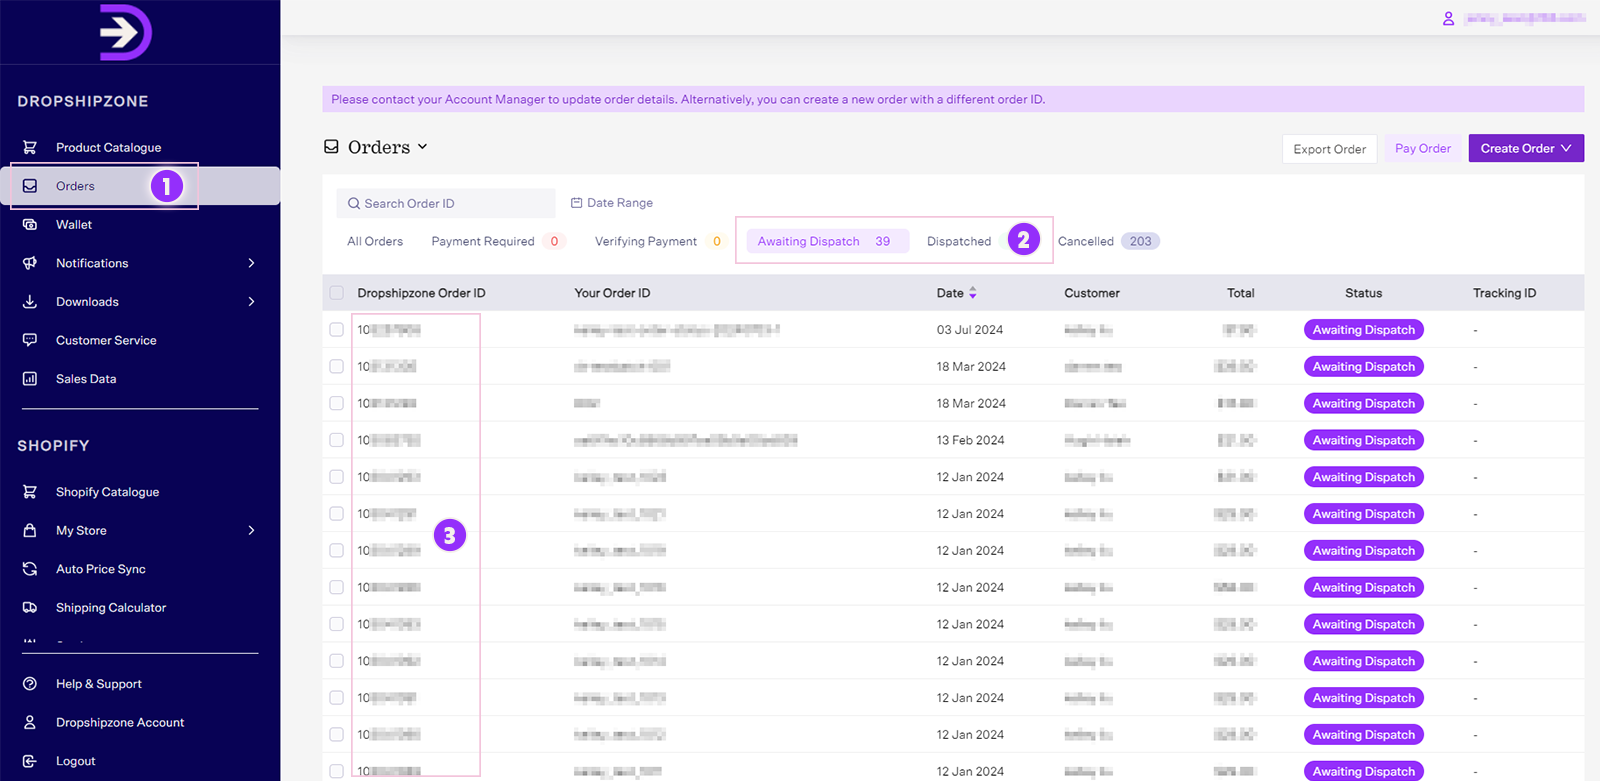
- Navigate to the Awaiting Dispatch / Dispatched tab on the Orders page, and select the order for which you'd like to request more information. Then, you’ll be directed to the Order Details page.

- Click on the Request Support button and select your enquiry type.

- Then, write us a message, attach related video or image, and click the Submit enquiry button to send your initial message.
You can keep the conversation going with us over email. Your Customer Service tab within the dashboard and email syncs up automatically, and you receive a notification via email when there’s a reply from our team.
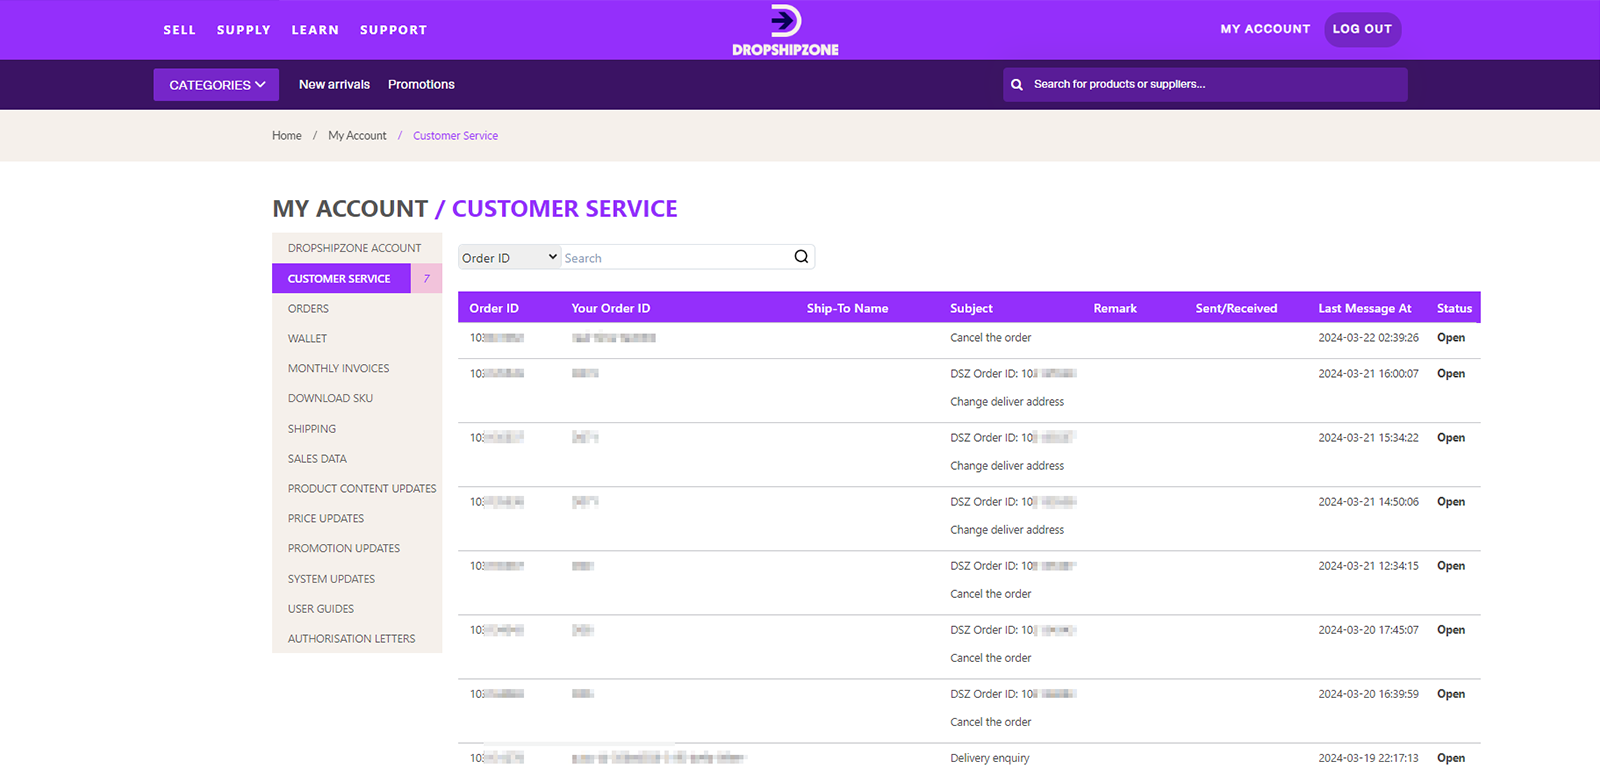
Note: Please be informed that all your enquiries are recorded in the Customer Service tab within your dashboard. You can click on the order in the Customer Service tab to view your enquiries on the Order page.
Frequently asked questions

Once you submit your application, our team will review it within 2 business days. You’ll hear back from us once we verify your details with an email confirmation.
Customer service will typically respond to enquiries within 2 business days. All enquiries should be resolved within a 7-day timeframe. Make sure to check your Customer Service portal and your spam folder in case you’ve missed it.
Dropshipzone sends regular emails to Retailers about new feature releases, system updates, shipping, and other updates. In case you have missed our emails, you can view these notifications on the Dropshipzone website portal. Go to your dashboard, find Notifications, and then click the System Updates tab. Here, you can check any email notifications you may have missed.
Only one Dropshipzone account can be bound with a single Shopify store. If you operate more than one Shopify store, you’ll have to register for different accounts on Dropshipzone to bind them separately. Please contact info@dropshipzone.com.au for more information.
You need to first unbind the Dropshipzone account from your existing Shopify store through the Dropshipzone app. Then install the Dropshipzone app for your new Shopify store.
You will need to enter your Dropshipzone login details when accessing the Dropshipzone app from the new Shopify store. Then, bind the Dropshipzone account with your new Shopify account.
You can log out from your Dropshipzone account and log in to Dropshipzone again with your new Dropshipzone account details. The Dropshipzone account details will be updated automatically.


